Author: Wojtek Naruniec
-
Time to switch to a block theme
I enjoyed using the Ubergrid theme for many years, with its characteristic masonry home page layout. However, as the theme authors never upgraded it to a block theme, I thought it was time to change it.
-
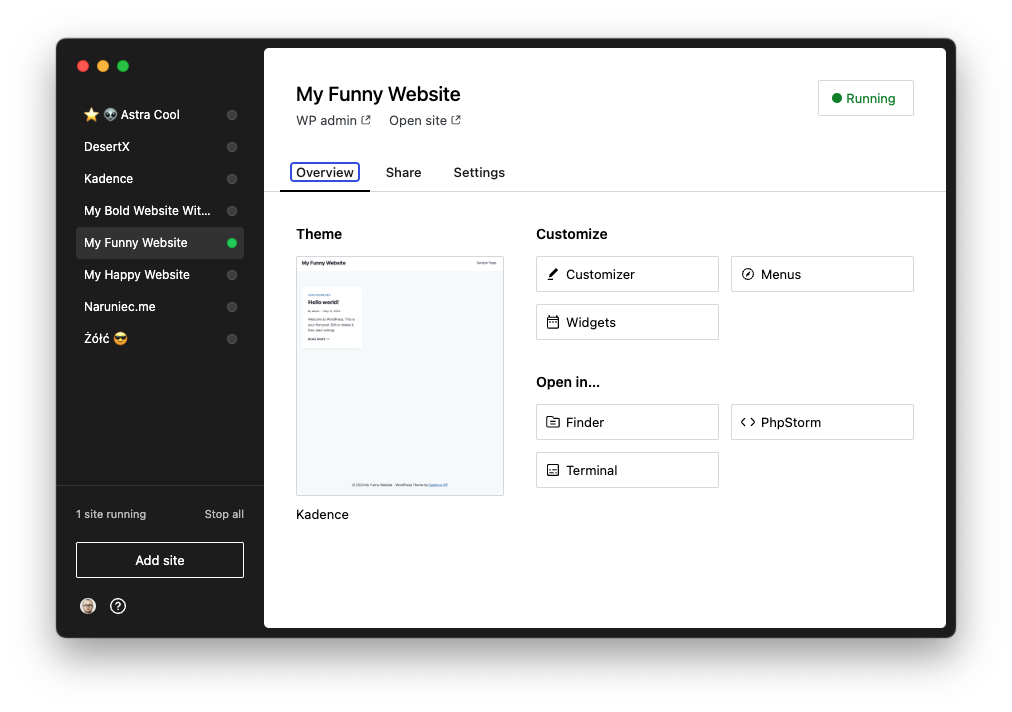
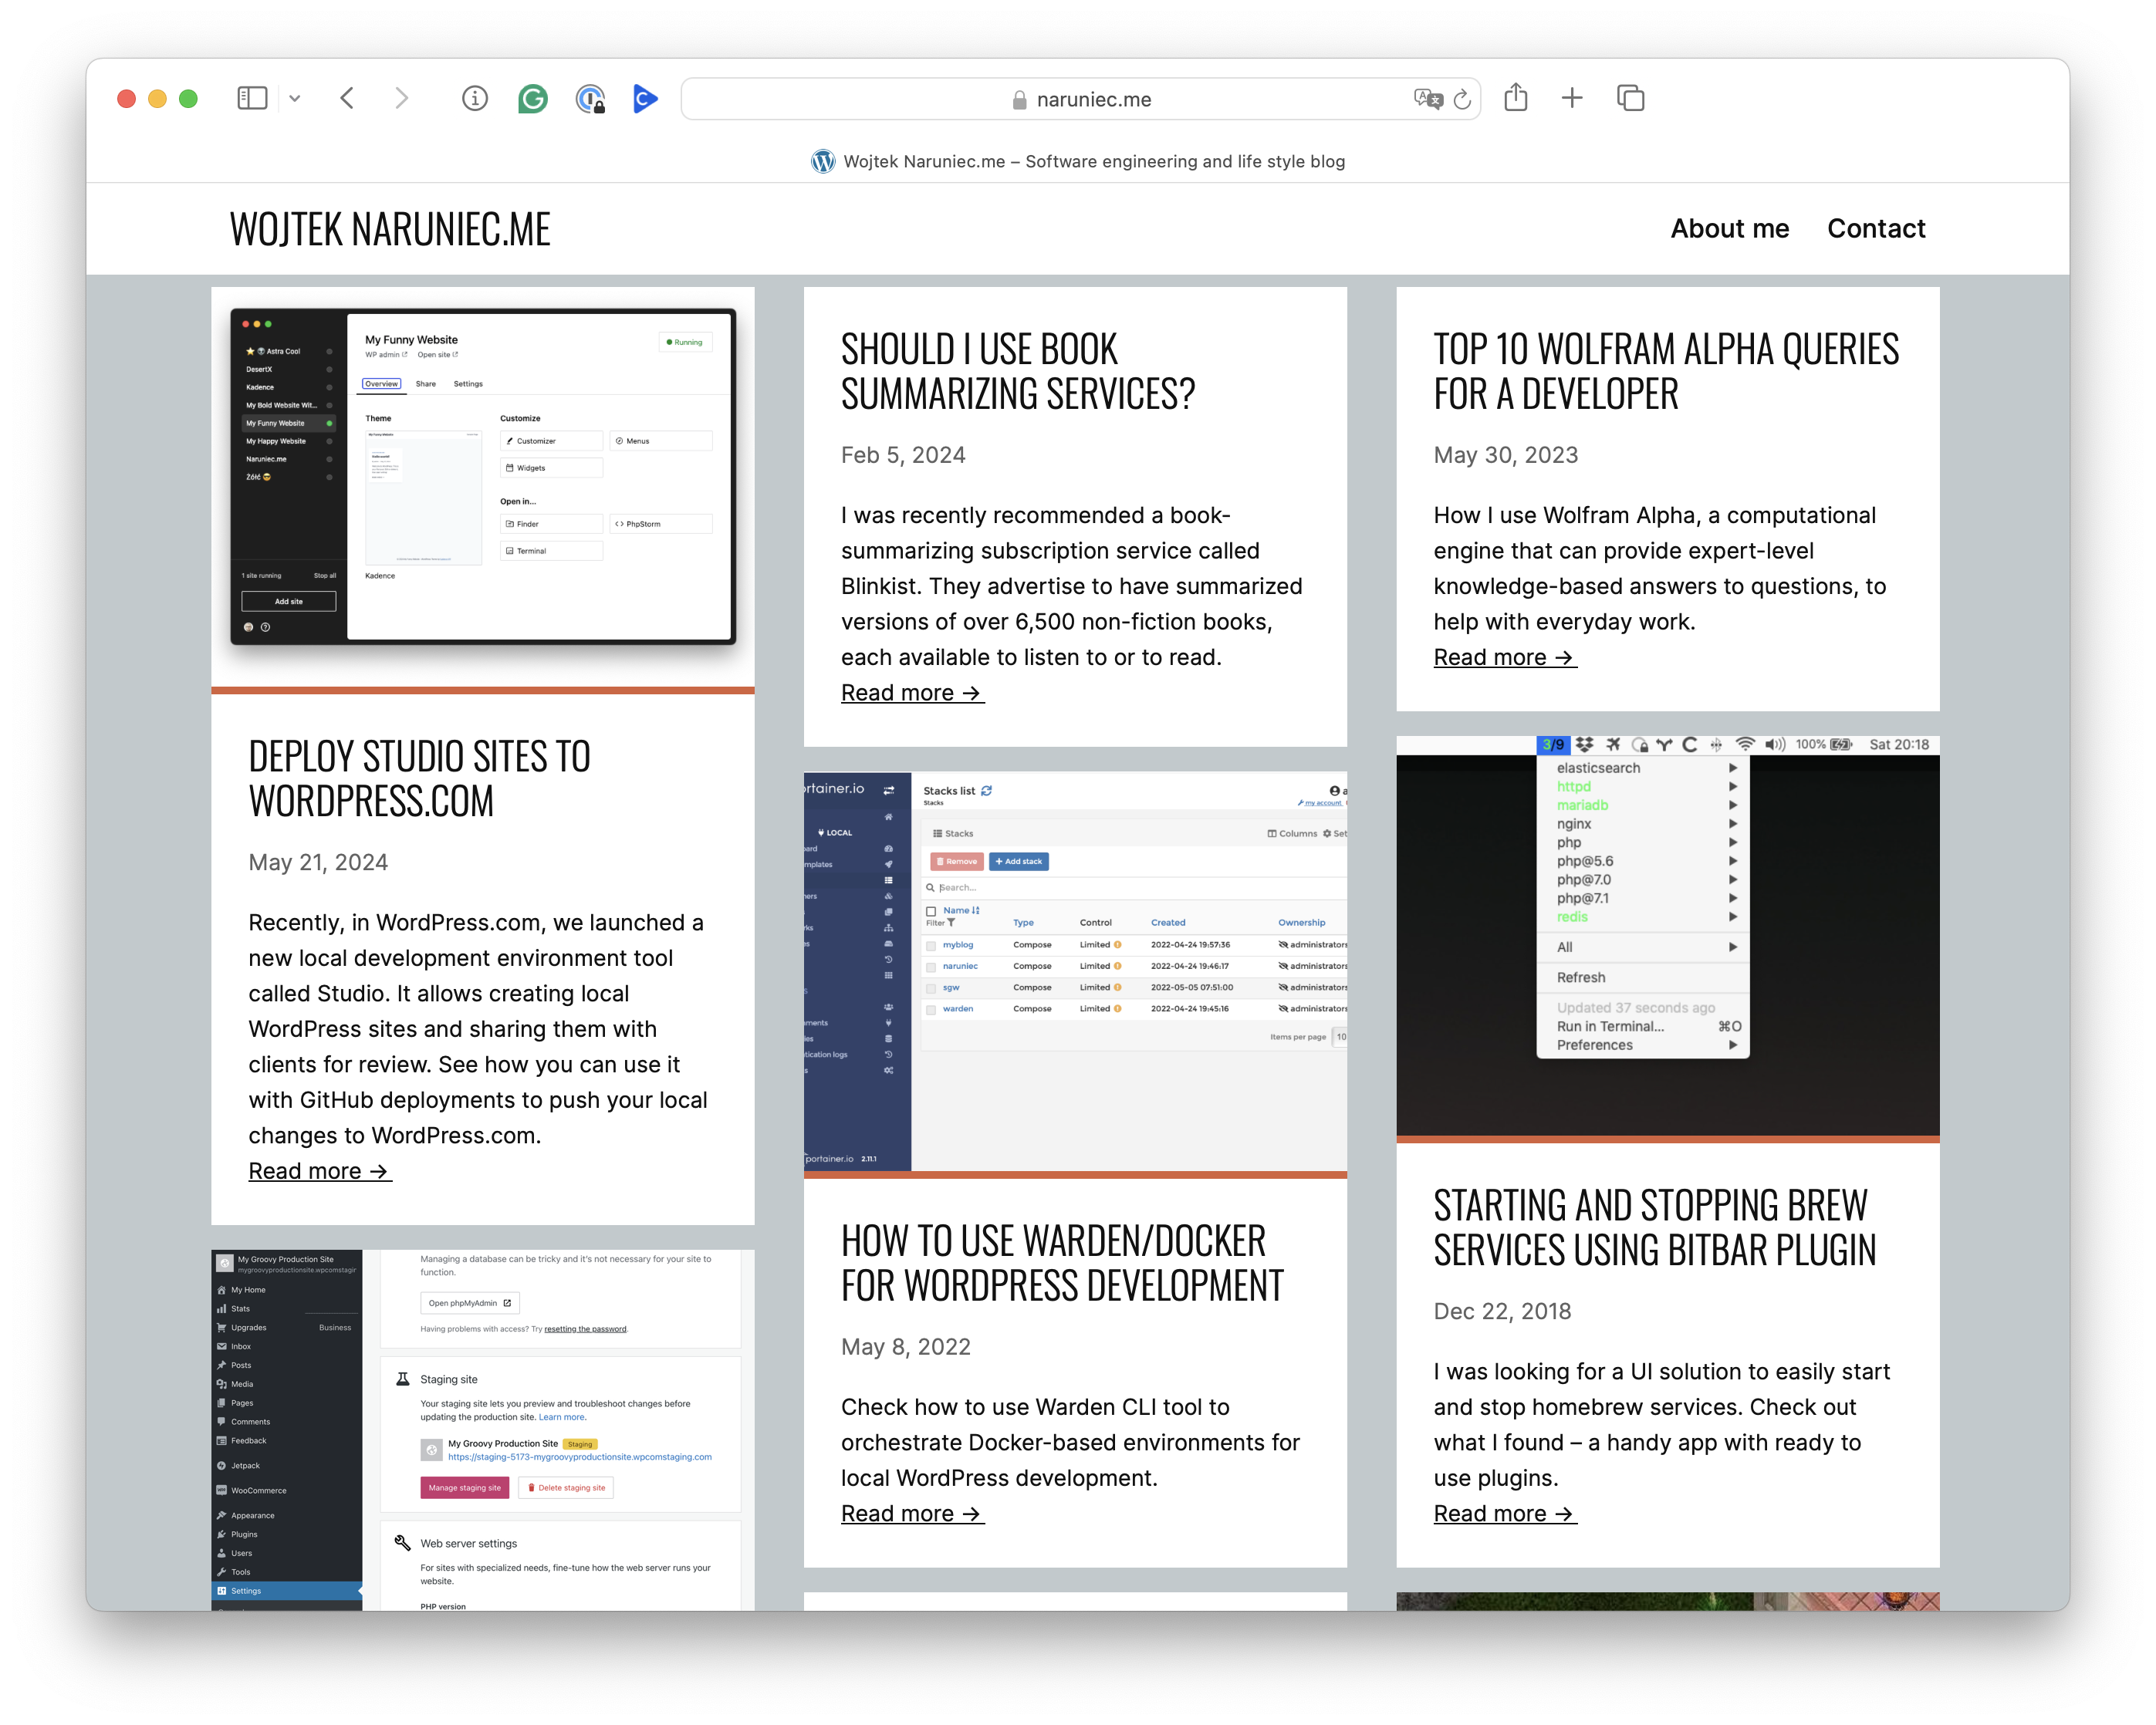
Deploy Studio sites to WordPress.com
Recently, in WordPress.com, we launched a new local development environment tool called Studio. It allows creating local WordPress sites and sharing them with clients for review. See how you can use it with GitHub deployments to push your local changes to WordPress.com.
-
Should I use book summarizing services?
I was recently recommended a book-summarizing subscription service called Blinkist. They advertise to have summarized versions of over 6,500 non-fiction books, each available to listen to or to read.
-
Top 10 Wolfram Alpha queries for a developer
How I use Wolfram Alpha, a computational engine that can provide expert-level knowledge-based answers to questions, to help with everyday work.
-
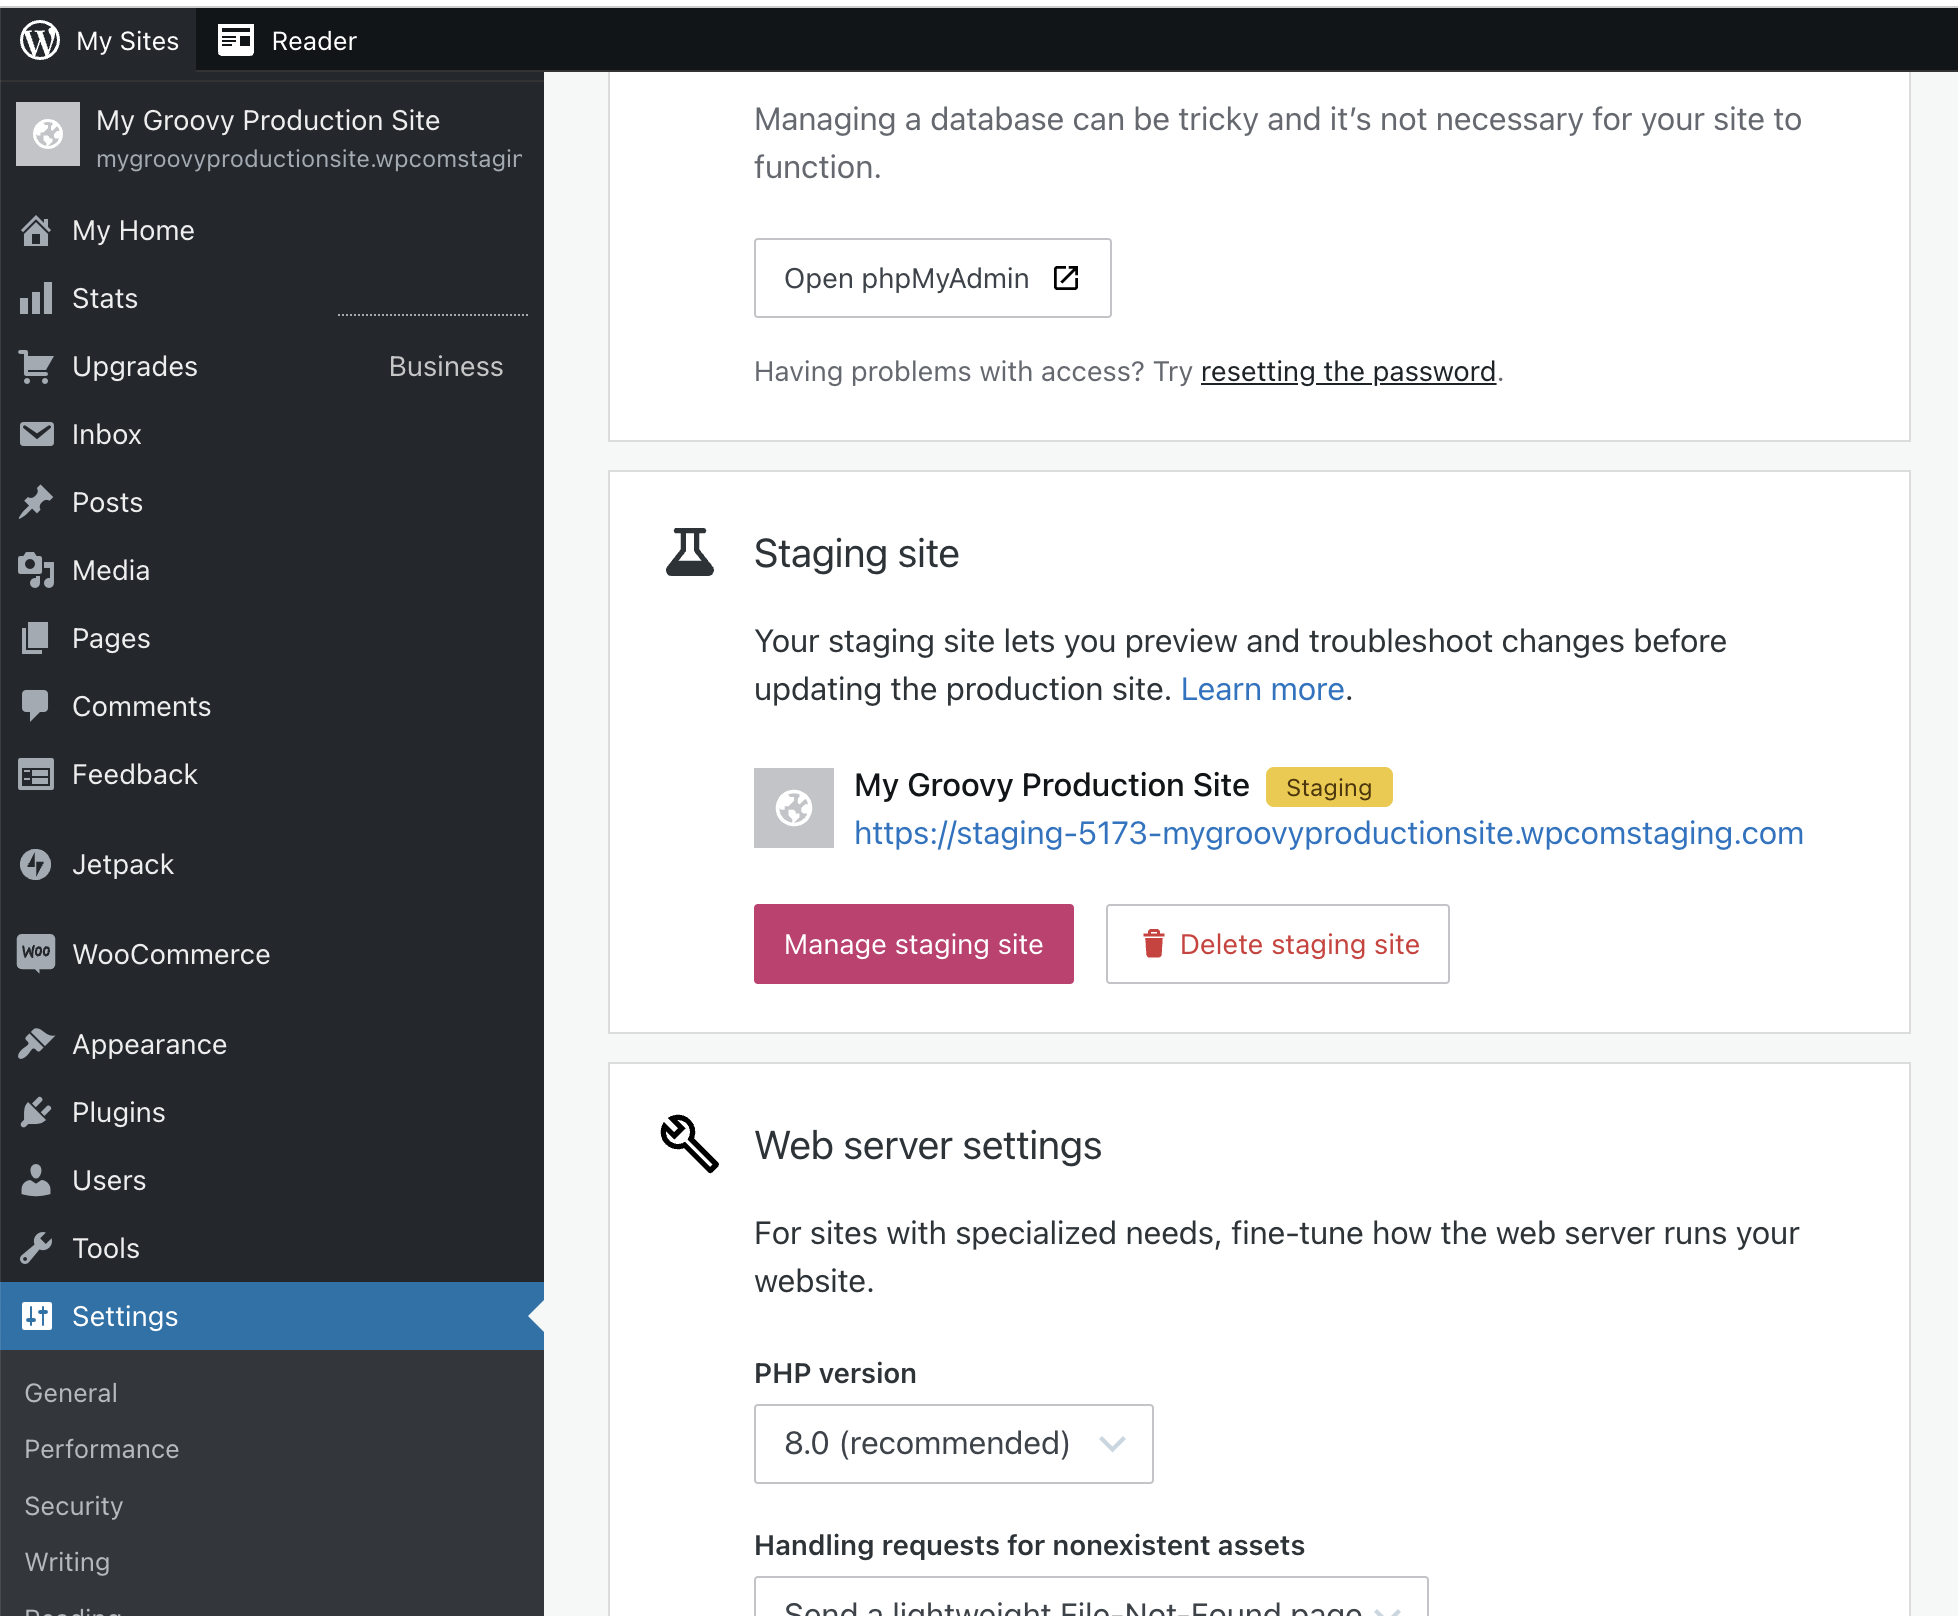
Staging Sites on WordPress.com
WordPress.com users have been missing the staging sites feature for years. I’m excited that it changed this month!
-
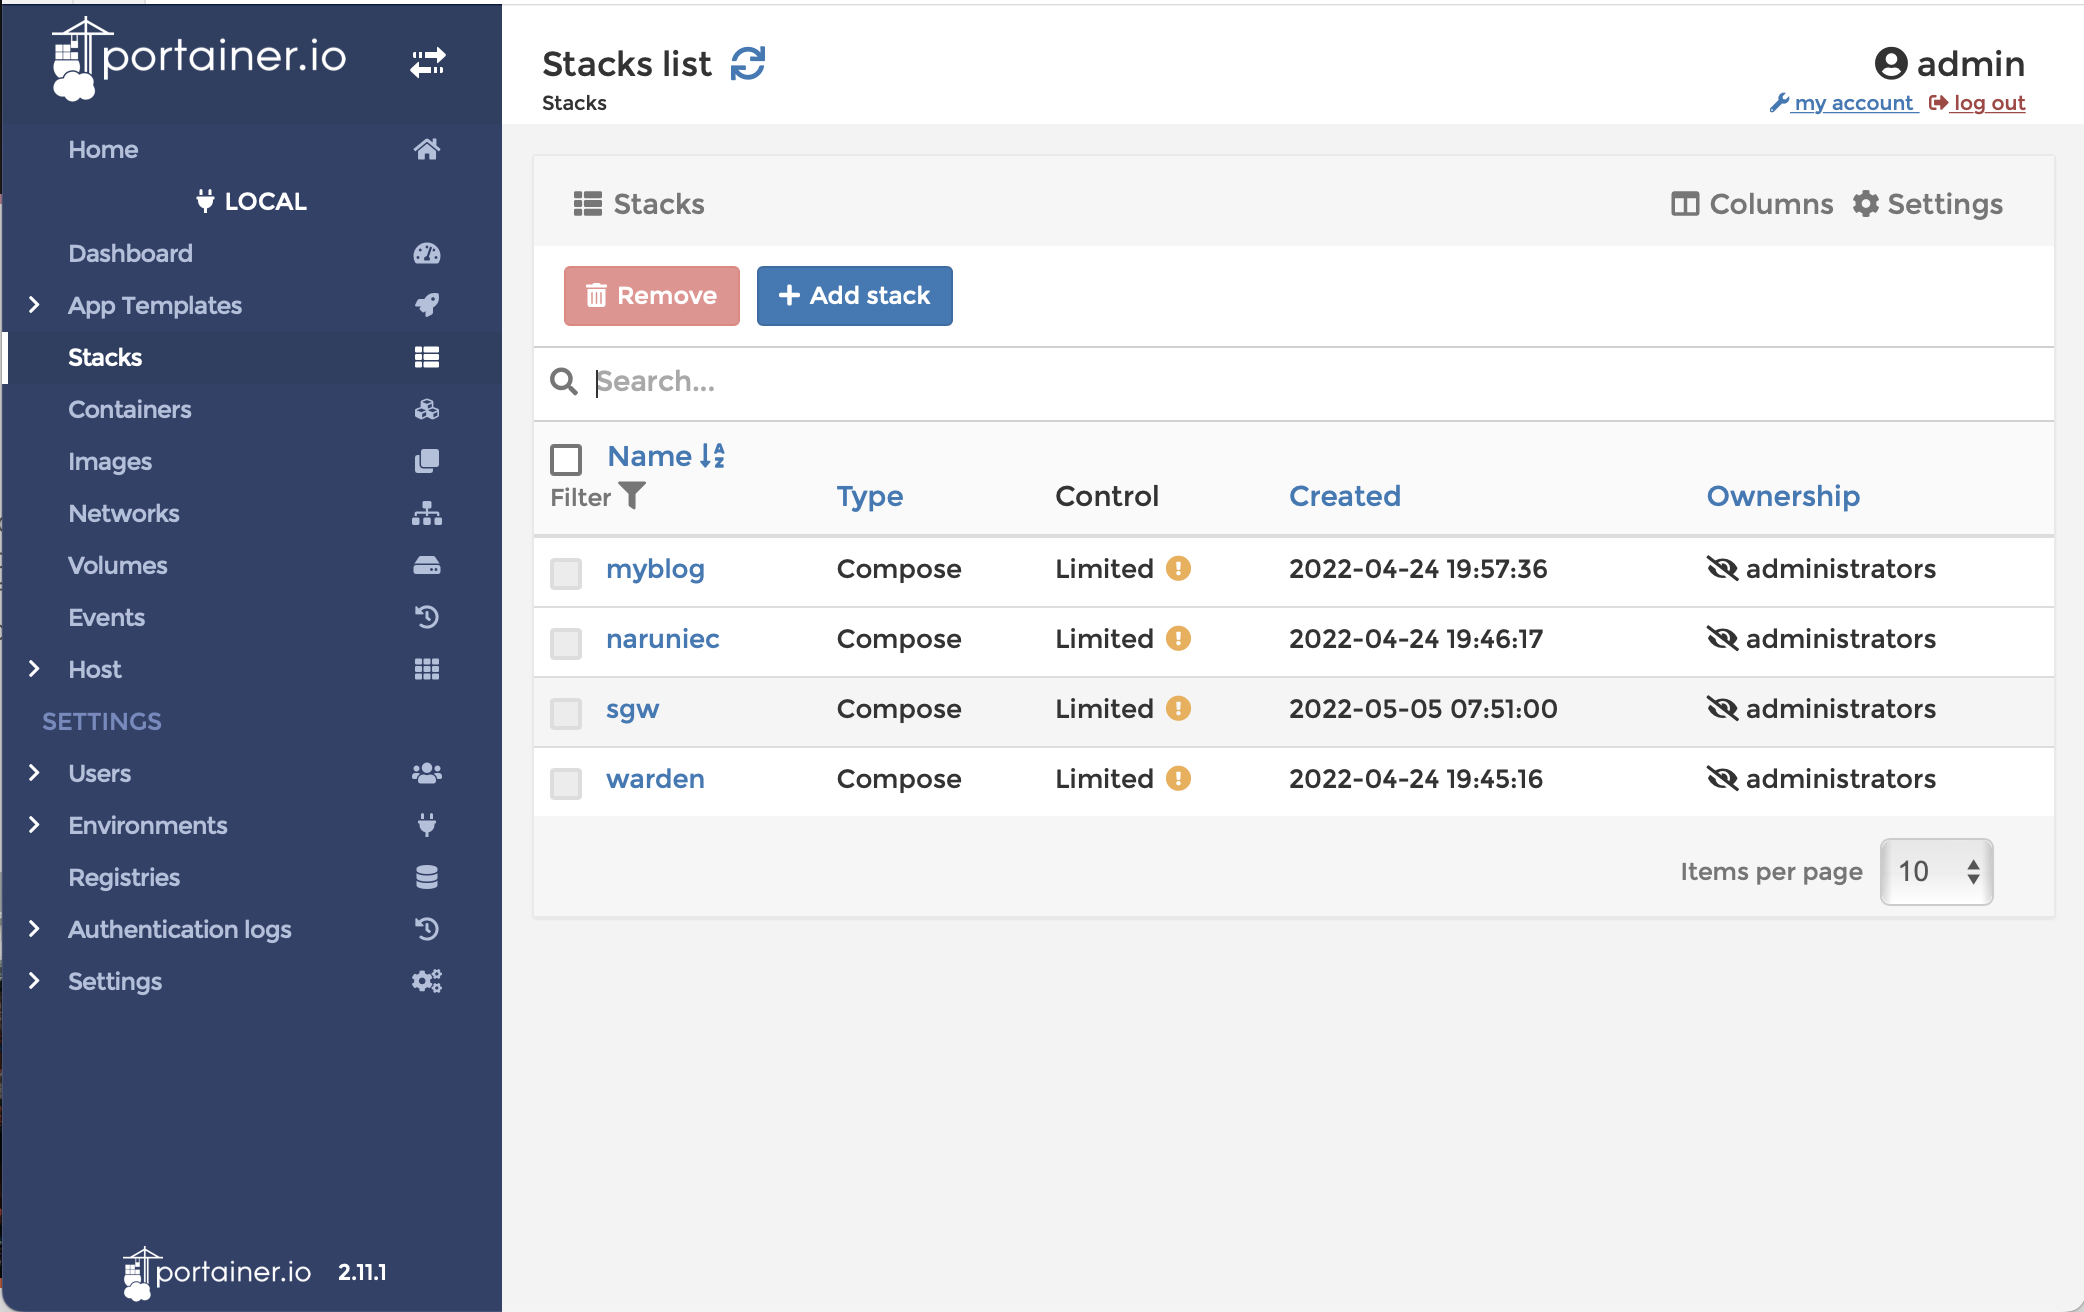
How to use Warden/Docker for WordPress development
Check how to use Warden CLI tool to orchestrate Docker-based environments for local WordPress development.
-
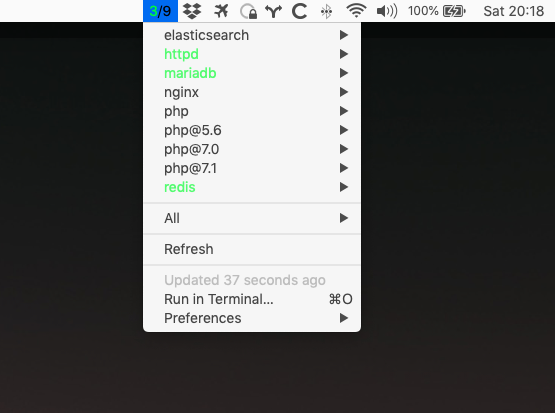
Starting and stopping brew services using BitBar plugin
I was looking for a UI solution to easily start and stop homebrew services. Check out what I found – a handy app with ready to use plugins.
-
Crazy Magento 2 core patches
Last year I took over a maintenance of the Magento 2 Commerce site. Check how I needed to deal with already applied core patches.
-
Magento 2: add CMS Page programmatically
I’m starting series of short blog posts to share solutions for common Magento 2 problems. In first one I’m going to show how to add CMS Page programmatically in setup scripts.